Instead of the normal nut and bolt grate brackets that most people have used, I chose to make some out of 1″ x 1″ aluminum angle. 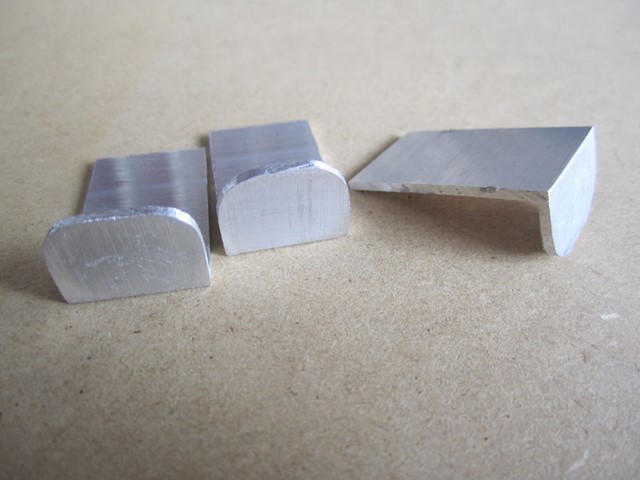
I trimmed down one leg of the angle and rounded the corners on a belt sander.
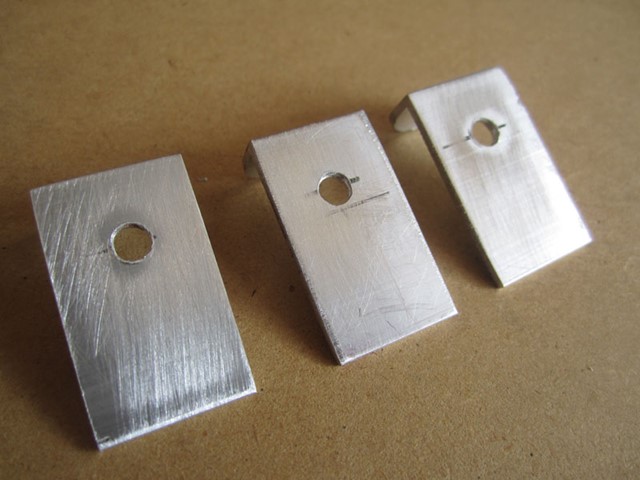
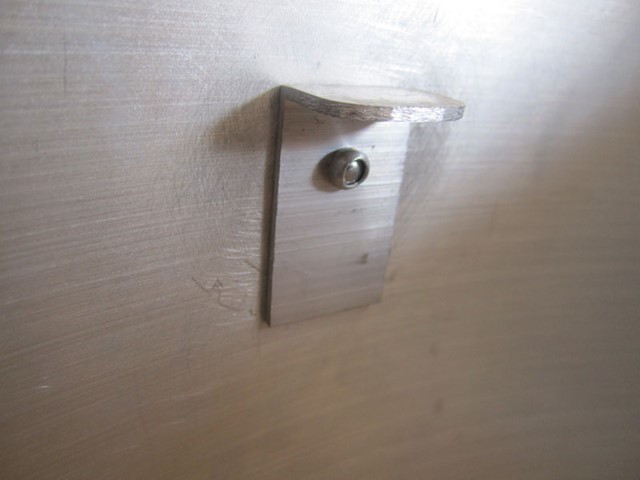
I drilled holes for the rivets ½” down from the corner of the angle.
On my Mini WSM, I located the hole for the back bracket 2.5″ below the lip of the pot and centered it between the handles. The hole for the front brackets are the same 2.5″ below the lip, but located 1.5″ away from the handles. The measurements were chosen because it’s close to placing the brackets equidistance around the pot while not cluttering the front in case I want to add a design later.
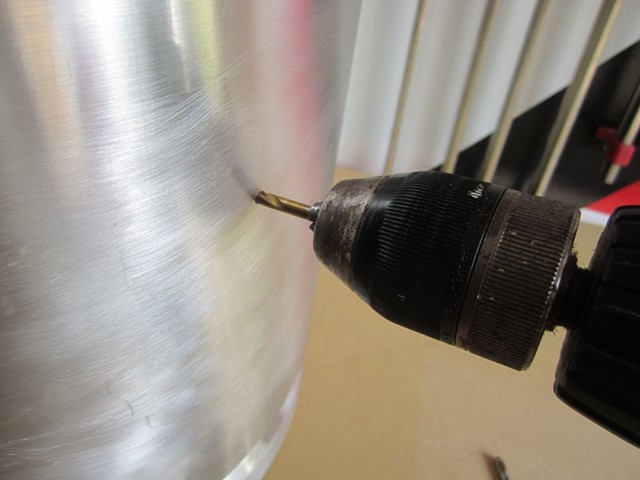
After marking the locations, I drilled the three holes with a 1/8″ bit.
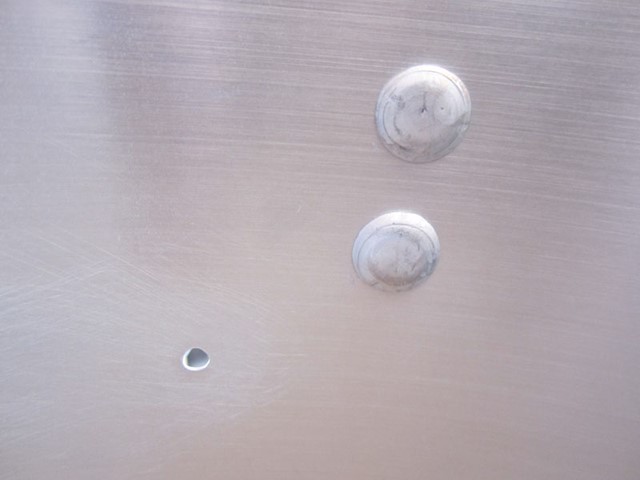
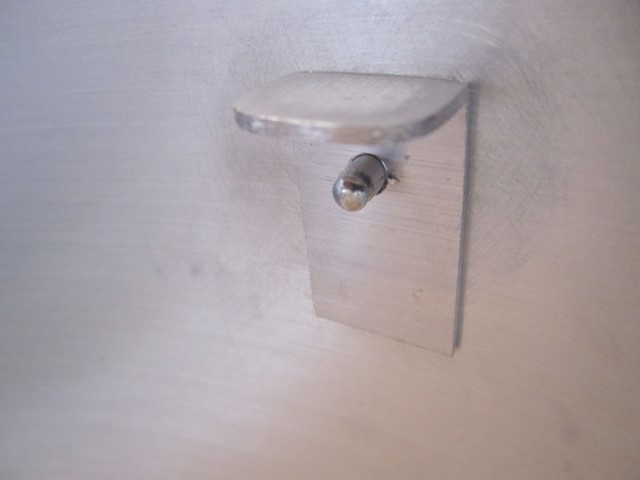
After a quick sanding to deburr the holes, I test fit the bracket and rivet.
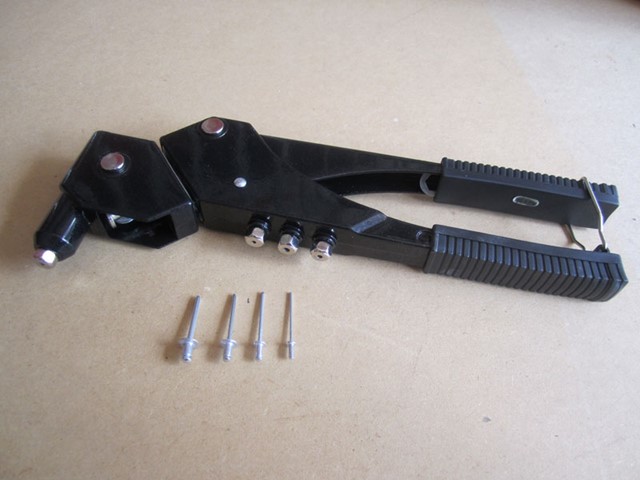
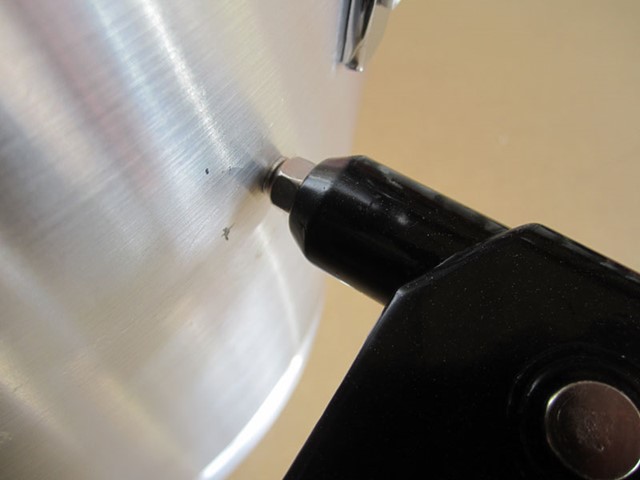
To fasten the bracket, load the appropriate rivet into the gun and slide it through the hole of the pot and bracket. Make sure the bracket is positioned correctly and squeeze the handle until the gun pops the stem off the rivet.
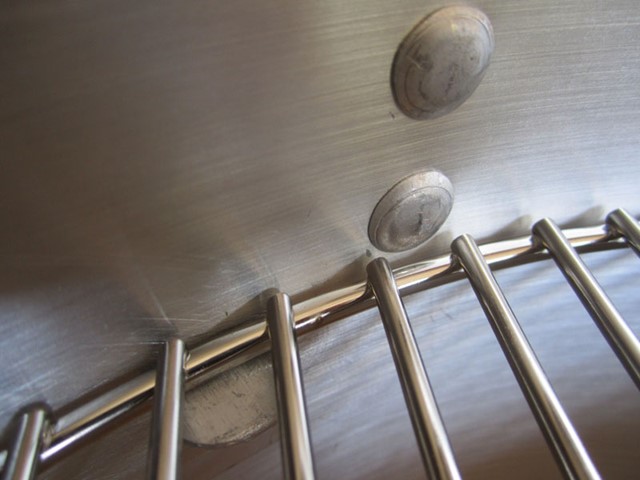
A quick test fit of the cooking grate shows that everything fits nicely.
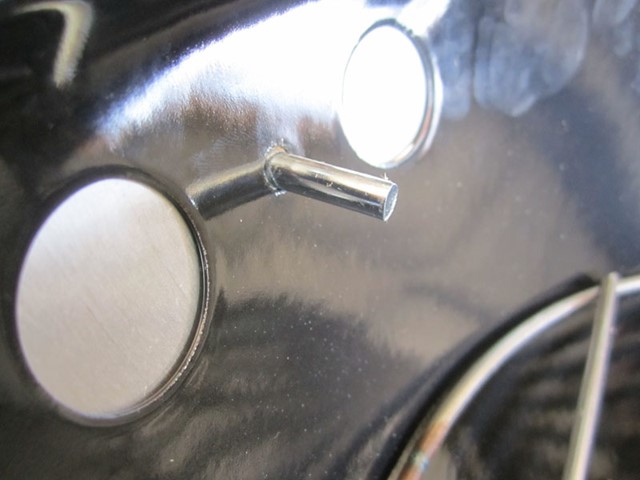
The Weber Smokey Joe Premium has a handle/vent combination. To remove, pull the handle straight out. Discard the handle and keep the two vents. They will be reused.


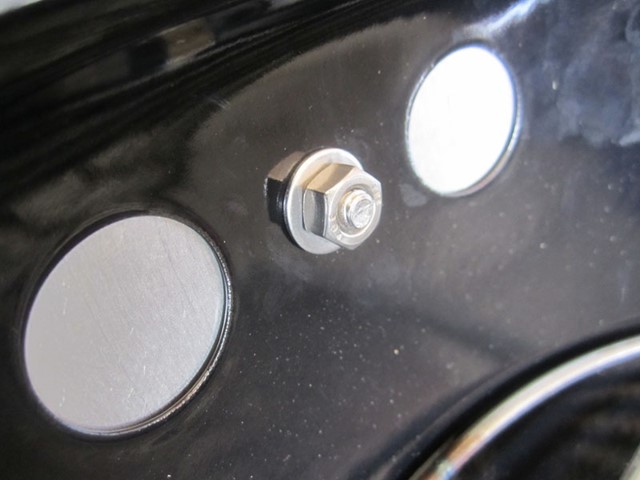
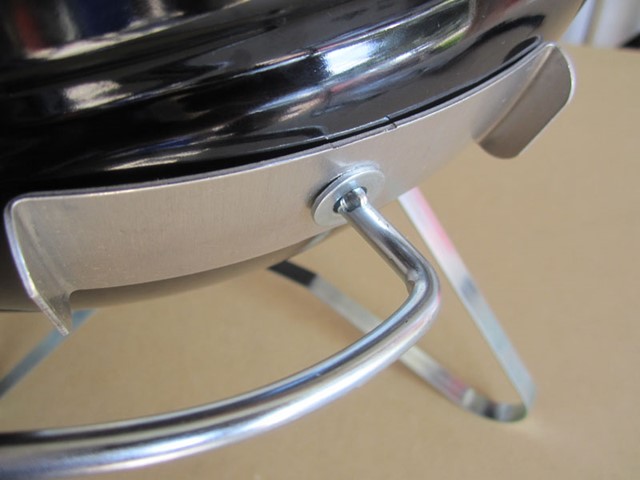
I used stainless steel ¼” bolts that were ¾” long with matching washers and nuts to reattach the vents to each side.